A railing rarely fails because of the part you can see. Most problems start earlier – bad measurements, vague drawings, missed code details, or an installation plan that looked simple on paper but not on the actual site. That is why having the railing installation process explained before work begins can save time, cost, and frustration. Whether you are planning a glass stair railing, an exterior aluminum guard, or a custom wrought iron system, the quality of the result depends on the discipline behind each step.
For homeowners, that means fewer surprises. For builders and property owners, it means a smoother path from concept to completion. A well-run project is not just about attaching posts and panels. It is about making sure the railing fits the space, meets code requirements, complements the architecture, and performs the way it should for years.
Why the railing installation process matters
Railings sit at the intersection of safety and design. They protect open edges, guide movement on stairs, and shape the visual finish of a space. Because they do both jobs at once, they need more than a quick field adjustment or a generic off-the-shelf approach.
A custom installation process gives you control where it matters. The measurements can reflect real site conditions instead of assumptions. The design can account for finishes, slope, wall conditions, and attachment points. The fabrication can match the approved drawings, and the installation team can work from a clear plan instead of improvising on site.
That structure matters even more on projects with glass, mixed materials, or modern minimalist detailing. Clean lines only look effortless when the preparation is exact.
Railing installation process explained step by step
1. Site visit and measurements
The process starts at the property, not in the shop. A proper site visit allows the team to assess dimensions, surfaces, access points, and the details that affect installation. Stair pitch, landing transitions, slab edges, wall strength, existing finishes, and even door swings can all influence the railing design.
This is also the stage where practical questions get answered. Do you want a more open look with glass? Do you need extra durability for an exposed exterior location? Is the priority visual lightness, privacy, low maintenance, or a stronger architectural statement? Good planning begins with understanding how the railing should perform in your daily use, not just how it should look in a photo.
2. Design development and job-specific drawings
Once field measurements are taken, the railing moves from idea to buildable design. This is where job-specific drawings matter. A professional drawing package shows the actual layout, dimensions, material choices, mounting method, and key details for fabrication and installation.
For the client, drawings create clarity. You can review proportions, confirm style, and make decisions before materials are cut. For the fabricator and installer, drawings reduce guesswork. Everyone is working from the same document, which helps avoid the common disconnect between what was discussed and what gets built.
This stage is especially important for custom glass railings, interior handrails, and exterior stair systems where the visual alignment has to be precise. Minor dimensional errors can become very visible once the railing is in place.
3. Client approval before production
Approval is not paperwork for its own sake. It is the checkpoint that protects the project. Before fabrication begins, the client should know what is being built, how it will be installed, and what the finished system is expected to look like.
At this point, changes are still manageable. After fabrication starts, revisions can become more expensive and can affect the installation timeline. That is why a disciplined approval stage is part of a dependable process. It gives homeowners confidence and gives contractors a cleaner handoff into production.
4. Engineering review when required
Not every railing project needs the same level of engineering, but many do. Balconies, guards, commercial applications, and certain permit-driven projects often require reviewed and stamped drawings. This step helps confirm that the system meets structural and code-related requirements for the specific application.
Engineering is where design ambition meets real-world performance. A sleek profile still has to resist load. A glass panel still has to be specified correctly for the opening, the mounting condition, and the intended use. A beautiful railing that does not meet project requirements is not a finished solution.
For clients, this part of the process offers something valuable beyond compliance: reassurance. You know the system has been reviewed with safety and buildability in mind.
Fabrication is where precision becomes visible
After approvals and engineering review are complete, production begins. This is where the materials are cut, welded, machined, finished, and prepared for installation. The quality of fabrication shows up in every reveal, joint, edge, and connection.
Different materials bring different strengths. Aluminum is popular for exterior railings because it is durable and low maintenance. Stainless steel offers a clean modern look and strong corrosion resistance. Wrought iron adds detail and presence, especially on custom architectural projects. Glass keeps sightlines open and works well in both modern interiors and exterior spaces.
The right material depends on the project. Exterior applications need to account for weather exposure and long-term wear. Interior systems may prioritize finish quality and visual integration with flooring, walls, and stairs. There is no single best option for every property. The best option is the one that suits the design, the environment, and the way the space is used.
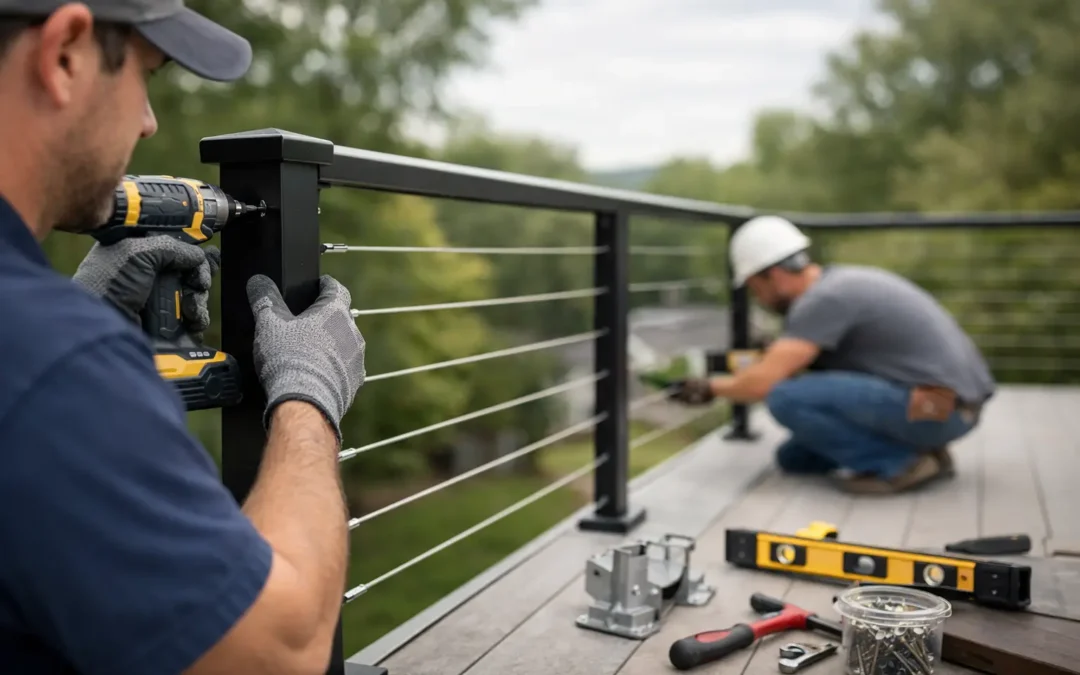
What happens on installation day
A professional installation should feel organized, not chaotic. The team arrives with the fabricated components, confirms site readiness, and checks the conditions against the approved drawings. If flooring, concrete, tile, or wall finishes changed after measurement, that needs to be identified before fastening begins.
The installation itself usually follows a sequence. Posts or base shoes are positioned and anchored first. Alignment is checked carefully because even a small deviation can affect the final line of the railing. From there, rails, glass panels, pickets, or custom infill elements are fitted and secured. Final adjustments are made to ensure consistent spacing, proper height, and a clean finish.
For interior projects, special care is often needed to protect floors, walls, and finished surfaces. For exterior installations, weather conditions and substrate quality can influence the schedule. A straightforward front porch railing is not the same as a multi-level glass balcony system. Both can be installed professionally, but the planning and field conditions are different.
Common issues that can delay a railing project
Most delays are not dramatic. They are usually the result of details that were overlooked too early. An uneven concrete edge, missing blocking behind a wall, finish materials installed later than expected, or permit requirements that were not addressed in advance can all slow progress.
This is another reason process matters. When measurement, drawings, approval, engineering, fabrication, and installation are handled as connected steps, there is less room for avoidable surprises. That does not mean every project is identical. Renovations, in particular, can reveal hidden conditions once work starts. But a structured workflow gives the team a stronger way to respond without compromising the final result.
Choosing a railing partner, not just a product
If you are comparing quotes, it helps to look beyond the railing style and price alone. Ask how measurements are taken. Ask whether drawings are included. Ask who handles engineering review if required. Ask what the installation team needs from the site before the install date. These questions tell you a lot about whether the company is selling a product or managing a complete solution.
That distinction matters because railings are custom by nature. Even when the design looks simple, the execution is not casual. The cleanest finished projects usually come from teams that work closely with clients from the first site visit through final installation. That is where craftsmanship and reliability meet.
At Iron & Glass Designs, that full-process approach is what turns ideas into finished railings that feel considered, secure, and built for the space they belong in.
If you are planning a new railing, the best next step is not guessing which style will work. It is starting with accurate measurements, clear drawings, and a team that can carry the project all the way through. A strong result begins long before the railing goes in place.